User Journey
This is a walkthrough of the ID Pass workflow.
Scenario: An ID Pass is configured to require liveness check and three different ID documents. For each ID document, we will accept one of Licence, Passport or Medicare Card:
- Liveness check: Required
- Document 1: Allowed types: Licence, Passport, Medicare
- Document 2: Allowed types: Licence, Passport, Medicare
- Document 3: Allowed types: Licence, Passport, Medicare
- ID Photo: Required
An ID Pass link looks like this:
https://idpass.globaldata.net.au/idpass?token=CLubZpt0QcBWQ
This link can then be sent to the user using an email to SMS with instructions to visit the ID Pass link and follow the on-screen instructions to complete the identity verification.
Each section shows the user interface for that step of the ID Pass process, The user will click the Continue button to proceed to the next step.
ID Pass Start
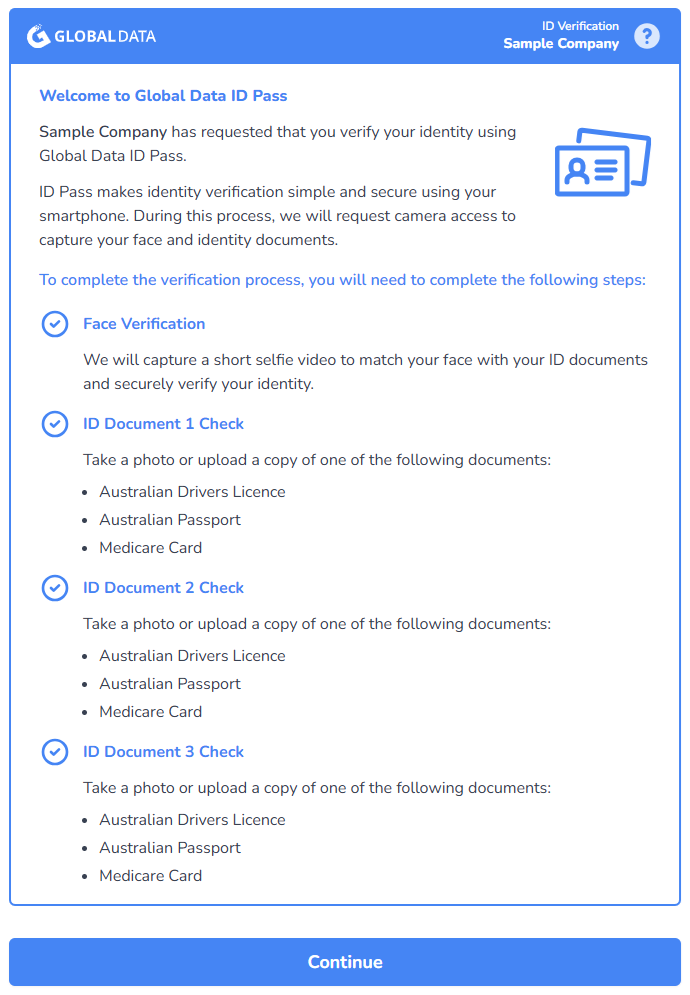
When the user first opens the ID Pass link, they start at the introduction page which outlines the process. This page is dynamically generated to reflect the configured options on the ID Pass. In our example case this tells the user that we will complete a Face Verification and three separate ID document checks:
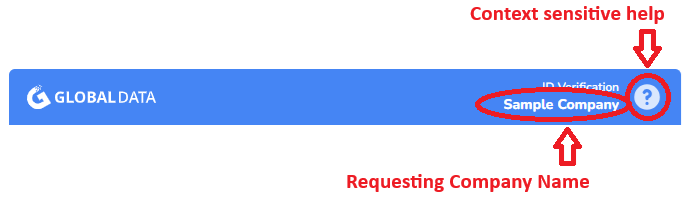
The header bar on each page displays the requesting company name (in this case “Sample Company”) and a context-specific help link. Users are guided through each verification step dynamically based on their selected ID verification options.
Mobile Device Optimisation
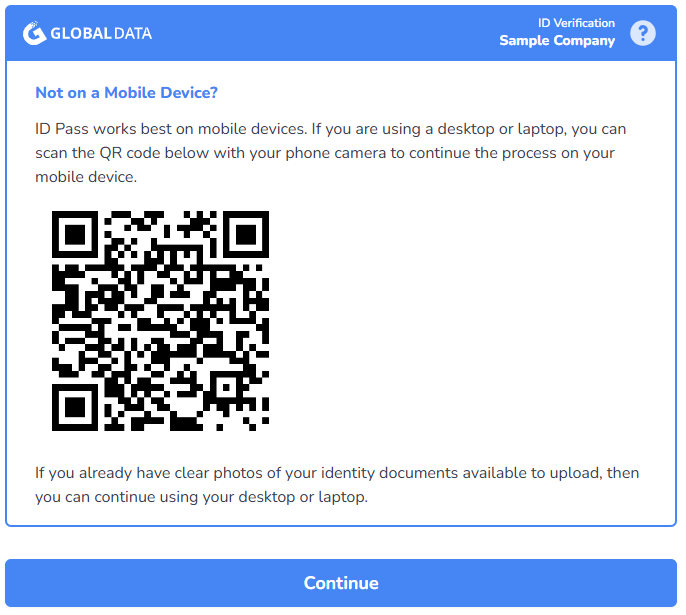
ID Pass has been optimised to work best on mobile devices. While it will function on a desktop with a web camera, best results (especially for the liveness check) are obtained when the user is using a mobile device.
If the user is not using a mobile device, then they will be presented with a screen which suggests that they scan the QR code to continue on a mobile device.
Consent Request
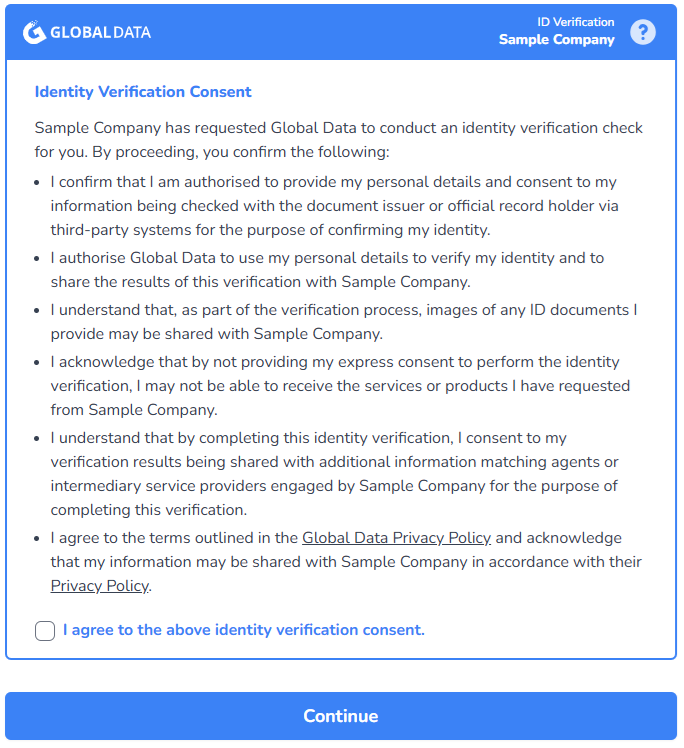
The user is presented with a consent screen. The content of this screen is dynamically generated depending on which options are selected for the ID Pass (for example, the face verification section is only included if a liveness check is requested during configuration). The Privacy policy for your company is included as a clickable link. Please contact support to update your privacy policy URL.
Face Verification
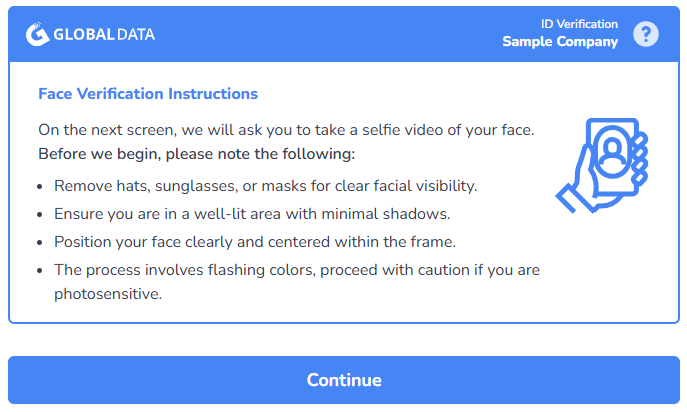
The face verification step starts with the Instructions page, followed by the actual verification and then either a success or failure page. The user is requested to take a selfie video for liveness detection and biometric face matching.
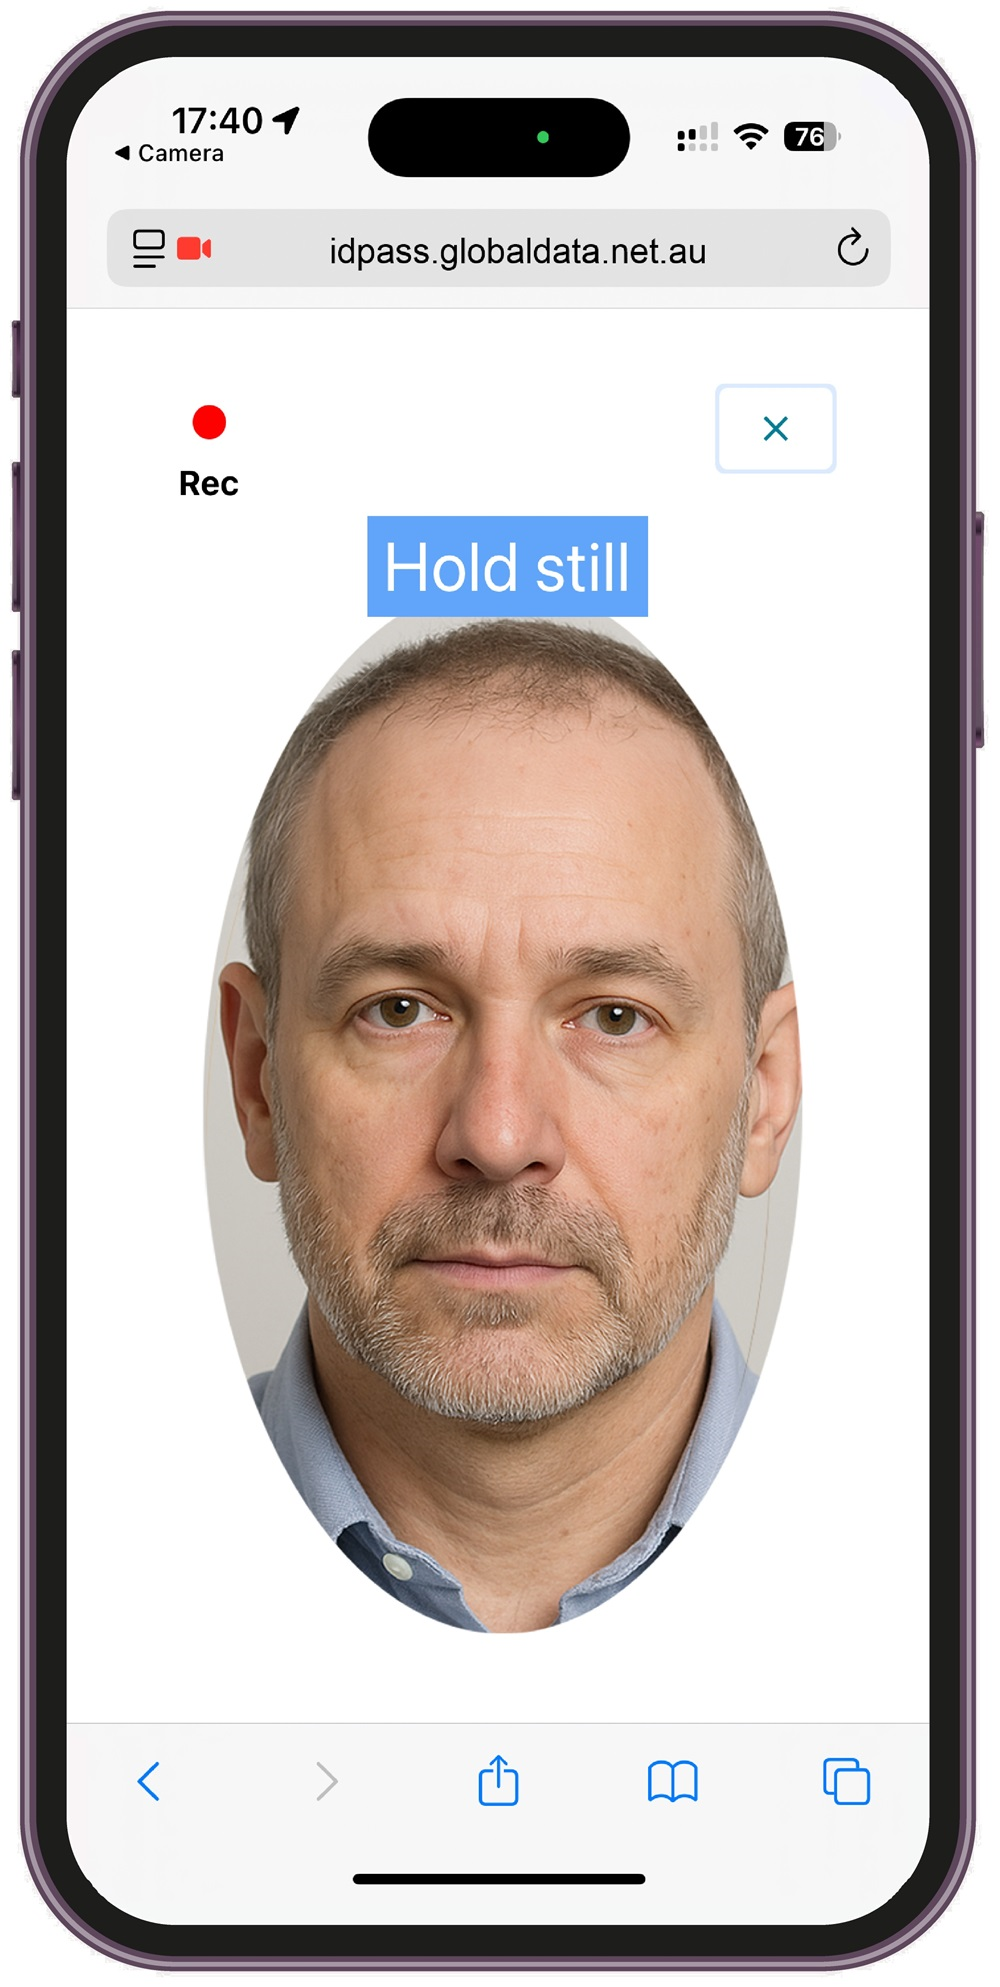
The user is then requested to take a selfie video for liveness detection and biometric face matching.
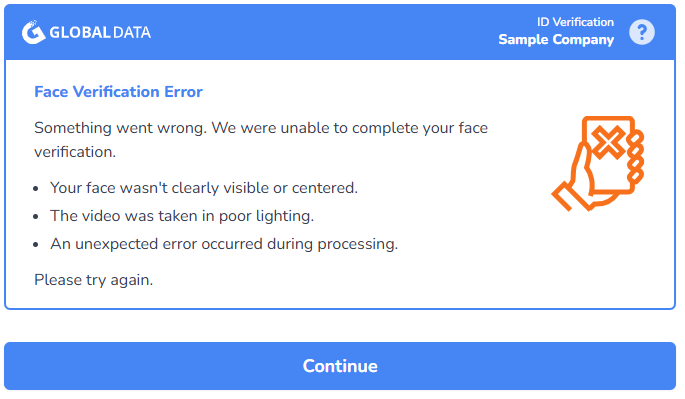
It takes a few seconds to analyse the selfie video. Once completed the user is presented with either a completed screen or an error screen if the liveness check was not successful.
Face Verification Error
If the verification fails, then the user is prompted to try again.
Face Verification Completed
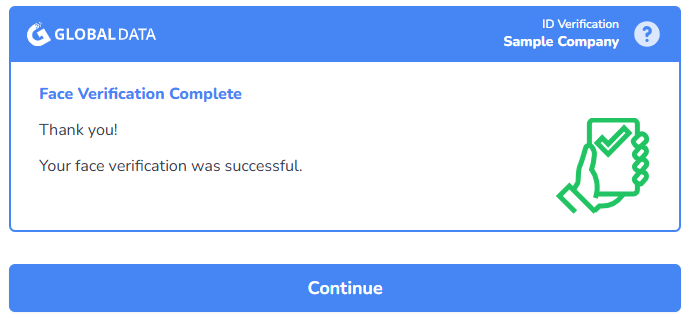
First ID document (Licence)
When we configure the ID Pass, we can specify the document types that are allowed for each ID check. In this example, we have configured the ID Pass to allow one of Licence, Passport or Medicare for the first ID check.
The user is requested to select which type of document they wish to use for the first ID check
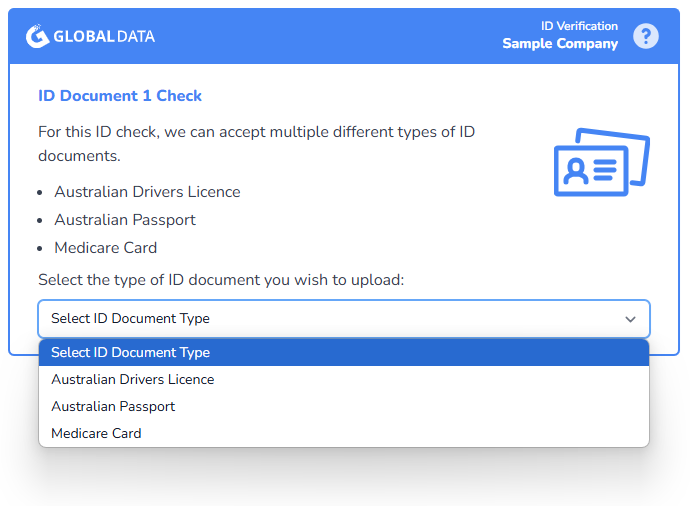
In this example the user has selected to use their licence and is requested to upload the front and back images of their licence.
They can choose to take a photo or upload an image from their drive or photo library.
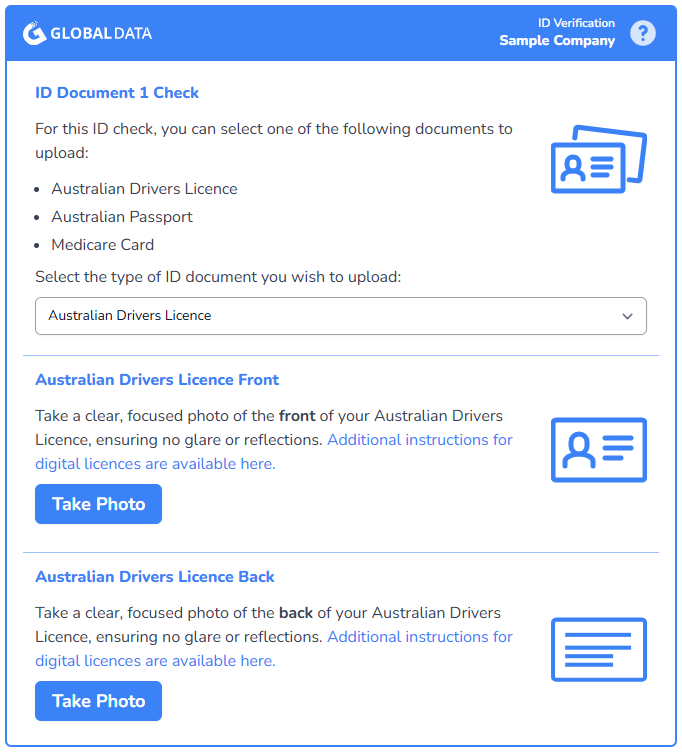
Licence Photo Upload
The user can upload photos or chose to replace an uploaded photo. The continue button appears once the required photos are uploaded.
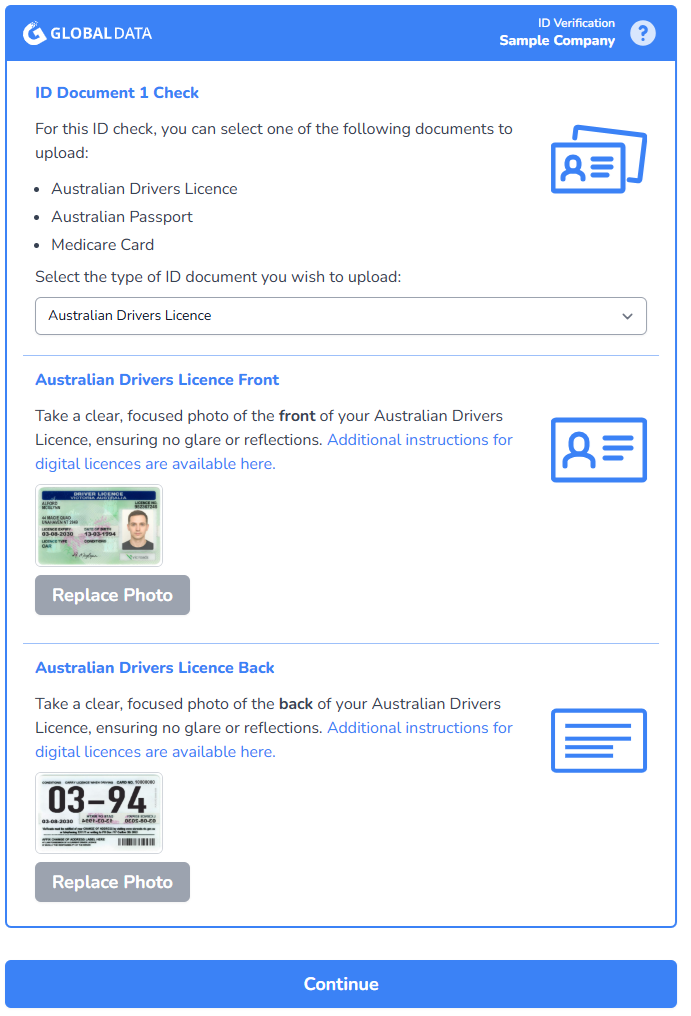
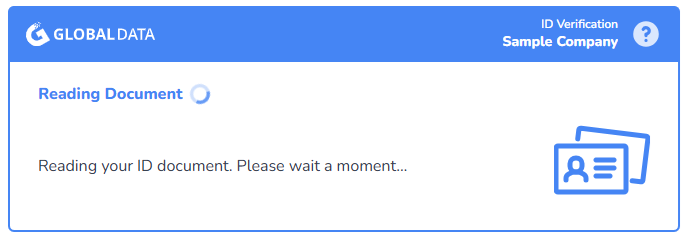
After continuing, the licence data is read from the photos using the licence OCR engine. This process takes a few seconds.
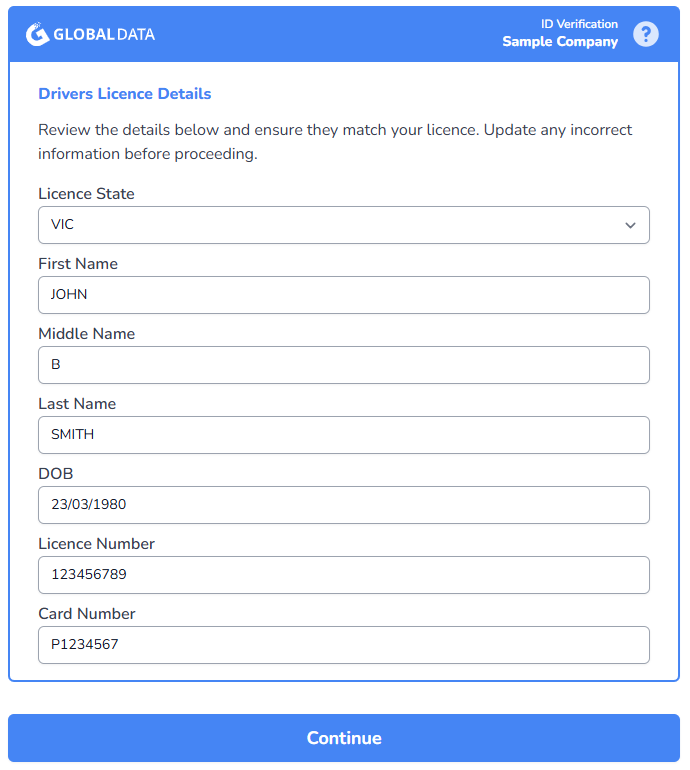
Licence Detail Review
The detected licence details are then displayed for review. While the OCR engine is very accurate, there can sometimes be errors in how the information is read, especially if the licence is worn, scratched or in poor condition.
The user is free to update the information before continuing. Note that any changes made by the user will be recorded in the change log and can be reviewed once the ID Pass process has completed.
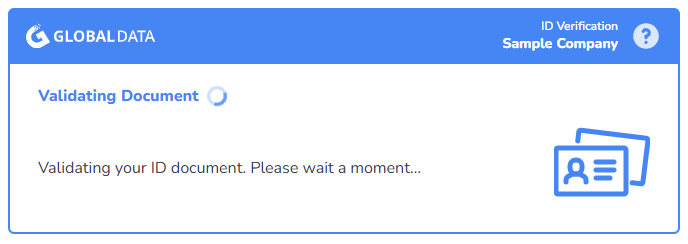
After continuing, the licence data is verified using the DVS service. This process takes a few seconds. Once completed, the use is presented with either the completed or error page.
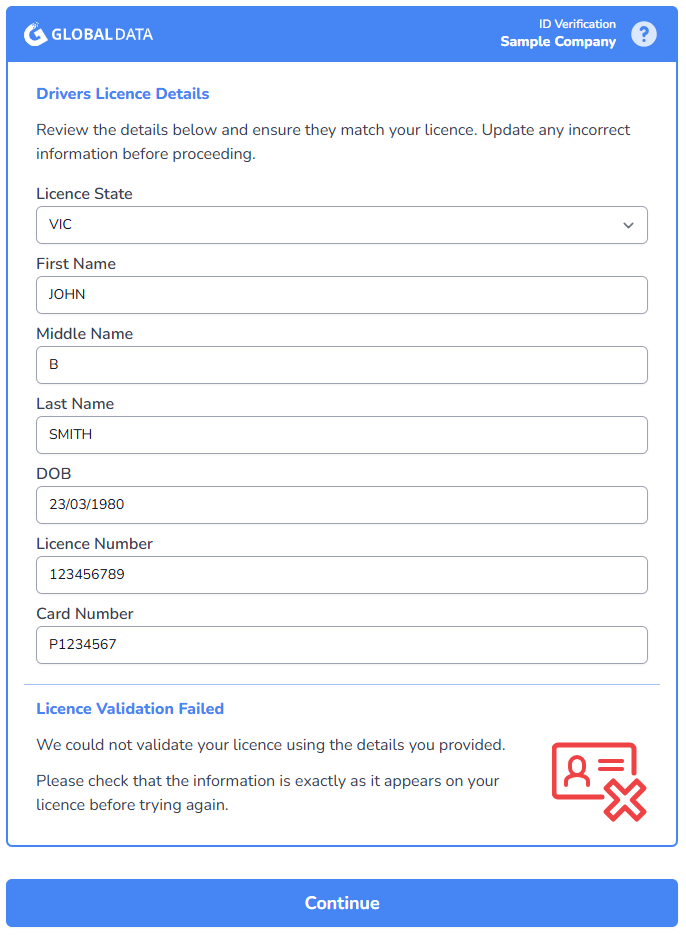
Licence Verification Error
If the verification fails, the user is presented with an error screen and asked to review the information before retrying the validation.
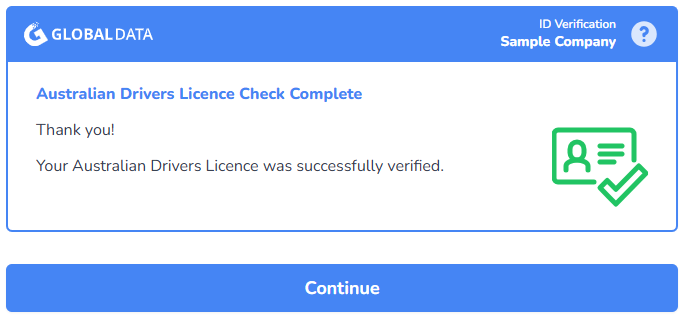
Licence Verification Completed
Digital Licences
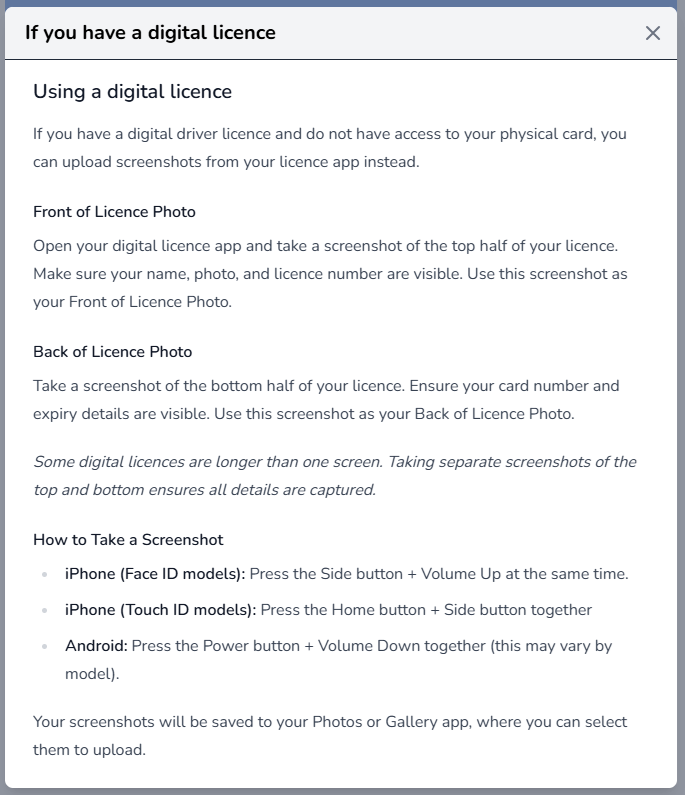
The IDPass system supports the use of digital licences (ie licence stored in a mobile app). To use a digital licence the user will be required to take two screenshots, one of the top and one of the bottom of the digital licence screen. These screenshots are then uploaded as the front and back images.
Additional help is linked from the licence upload page:
Second ID document (Passport)
When we configure the ID Pass, we can specify the document types that are allowed for each ID check. In this example, we have configured the ID Pass to allow one of Passport or Medicare for the second ID check.
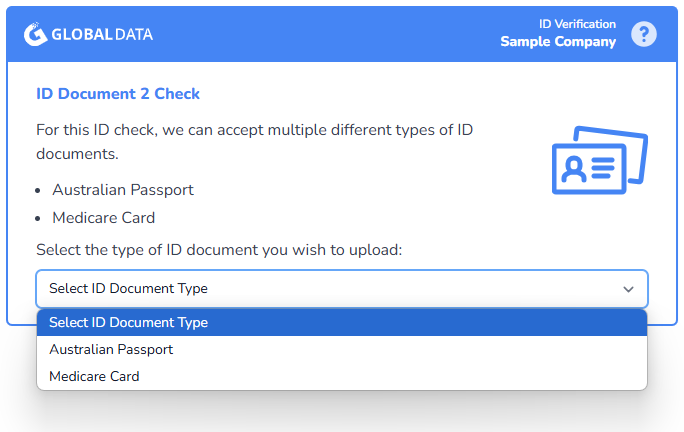
Note that although we configured the ID Pass to allow Licence, Passport and Medicare for the second ID document, the select box only shows Passport and Medicare. This is because the user has already used their licence as the first ID document, so it is not allowed to be used again here.
The user is requested to select which type of document they wish to use for the second ID check.
In this example the user has selected to use their passport and is requested to upload a photo of the information page of their passport. They can choose to take a photo or upload an image from their drive or photo library.
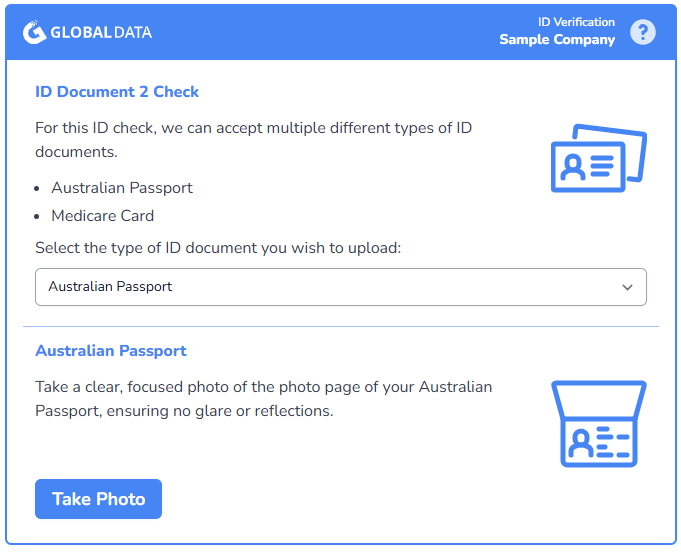
Passport Photo Upload
The user can then upload the photo or chose to replace an uploaded photo. The continue button appears once the photo is uploaded.
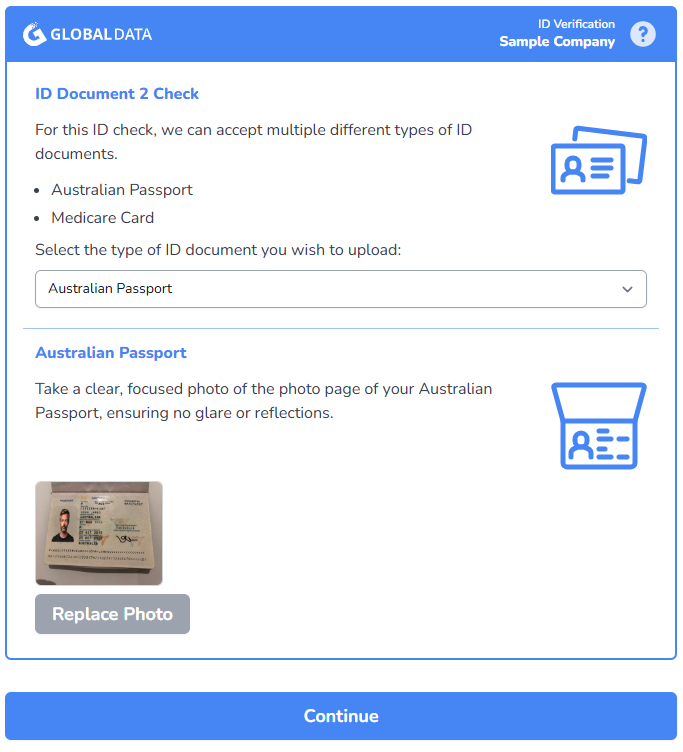
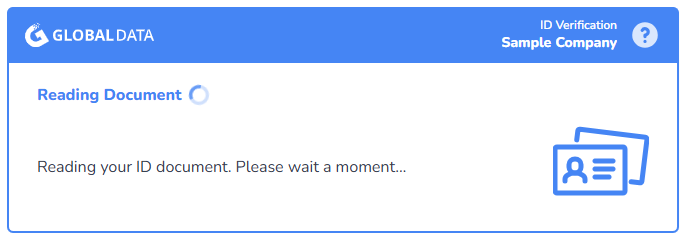
After continuing, the passport data is read from the photo using the passport OCR engine. This process takes a few seconds
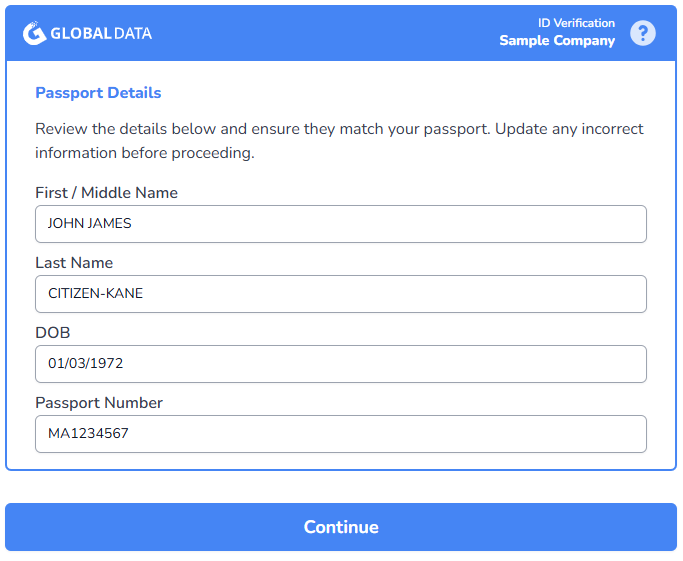
Passport Detail Review
The detected passport details are then displayed for review. While the OCR engine is very accurate, there can sometimes be errors in how the information is read, especially if the passport is worn, scratched or in poor condition. The user is free to update the information before continuing. Note that any changes made by the user will be recorded in the change log and can be reviewed once the ID Pass process has completed.
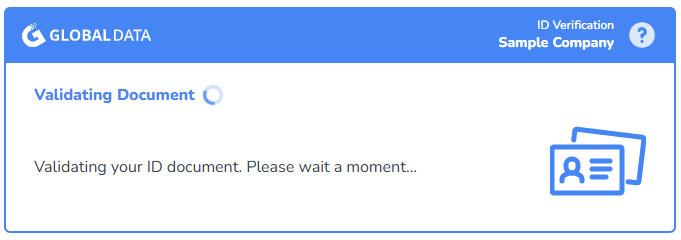
After continuing, the passport data is verified using the DVS service. This process takes a few seconds.
Once completed, the use is presented with either the completed or error page.
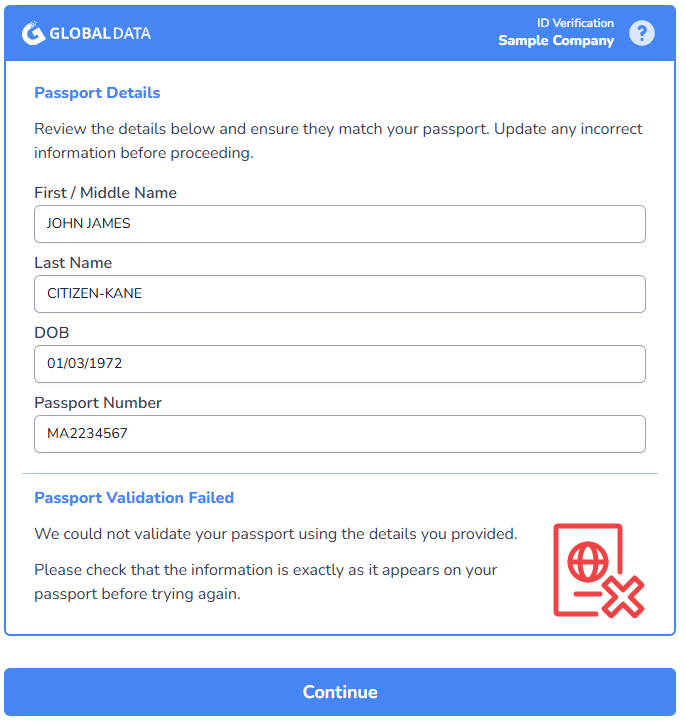
Passport Verification Error
If the verification fails, the user is presented with an error and asked to review the information before retrying the validation.
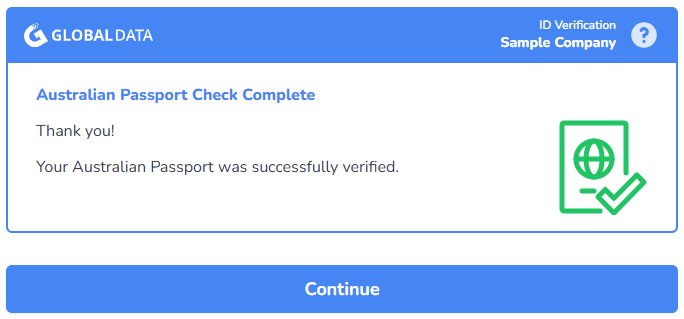
Passport Verification Completed
Third ID document (Medicare)
When we configure the ID Pass, we can specify the document types that are allowed for each ID check. In this example, we have configured the ID Pass to allow one of Medicare for the third ID check.
Note that although we configured the ID Pass to allow Licence, Passport and Medicare for the third ID document, there is no select box shown and the user is just asked to validate their Medicare card.
This is because the user has already used their licence and passport as the first and second ID document, leaving only the Medicare card option for the third ID document.
The user is requested for the third ID document. This is the Medicare card.
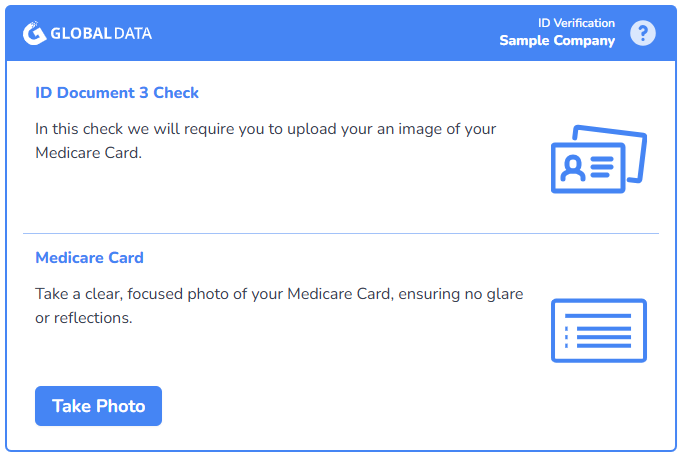
Medicare Photo Upload
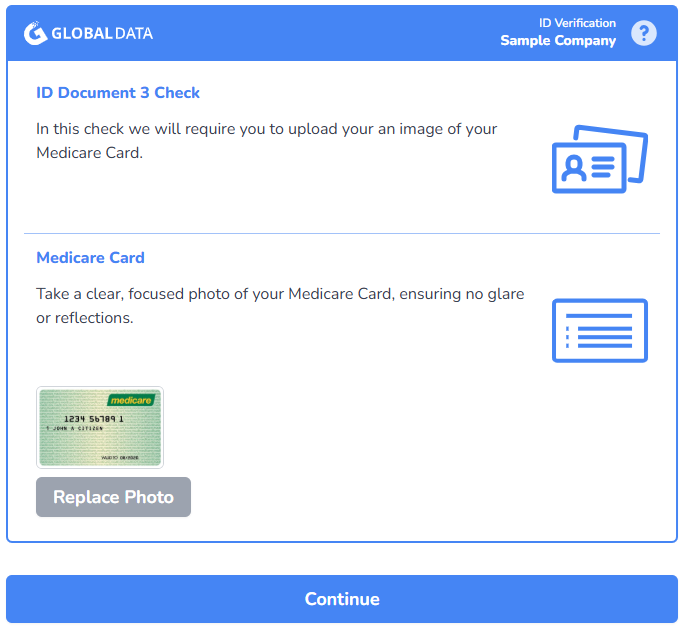
The user can then upload the photo or chose to replace an uploaded photo.
The continue button appears once the photo is uploaded.
After continuing, the Medicare data is read from the photo using the Medicare OCR engine.
This process takes a few seconds
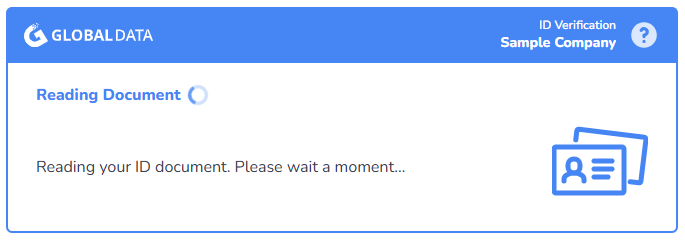
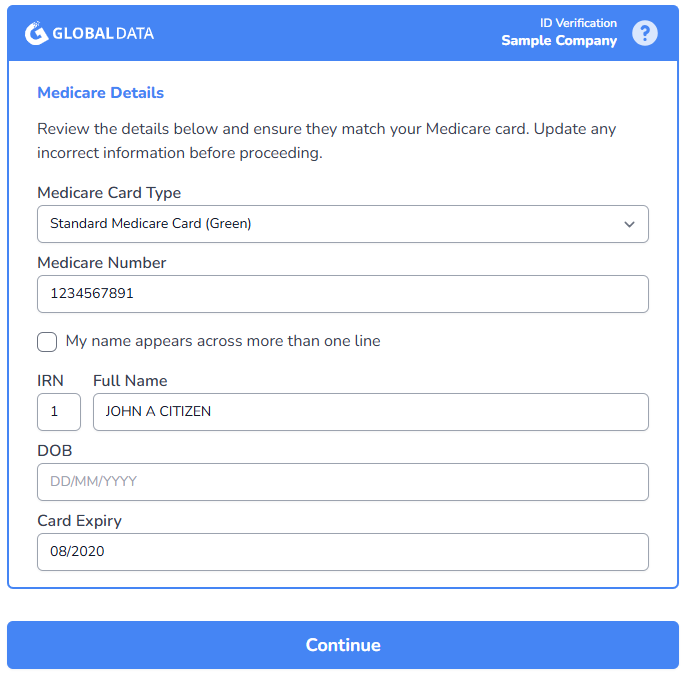
Medicare Detail Review
The detected Medicare details are then displayed for review. While the OCR engine is very accurate, there can sometimes be errors in how the information is read, especially if the Medicare card is worn, scratched or in poor condition.
The user is free to update the information before continuing. Note that any changes made by the user will be recorded in the change log and can be reviewed once the ID Pass process has completed.
Note that the user is required to enter their DOB for this verification. Manual entry is required as the users DOB does not appear on the Medicare card and therefore is not pre-filled by the OCR engine.
After continuing, the Medicare data is verified using the DVS service. This process takes a few seconds. Once completed, the use is presented with either the completed or error page.
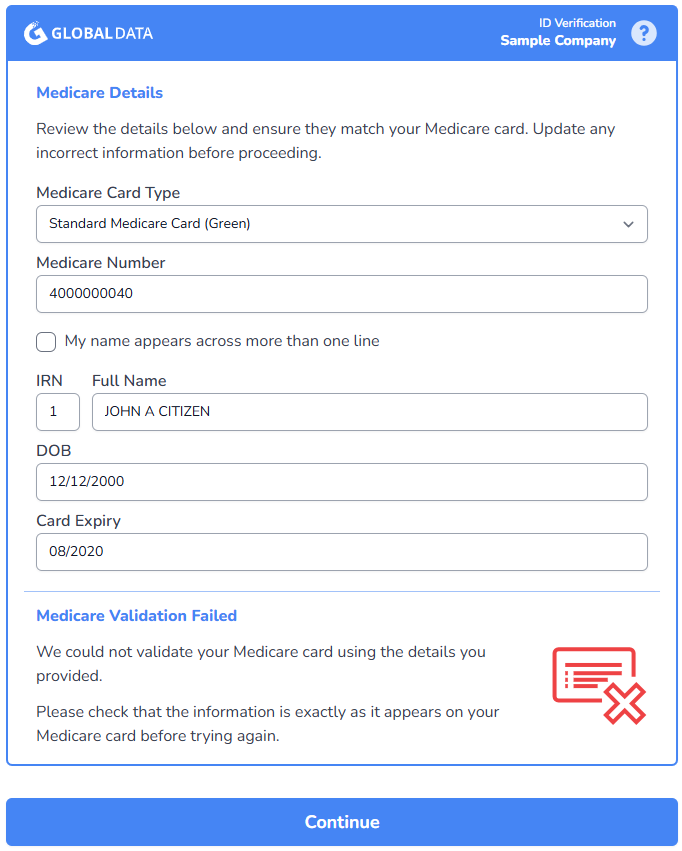
Medicare Card Verification Error
If the verification fails, the user is presented with an error and asked to review the information before retrying the validation.
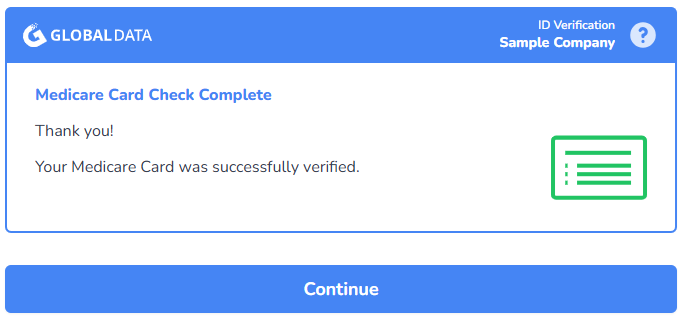
Medicare Card Verification Completed
ID Photo Upload
The user is requested to take or upload a photo of themselves to use on their ID card. This optional step is only included if the ID Photo option is selected during configuration. This function can be used if you are producing an ID card with the users photo or require a photo of the user for other purposes.
If you require a photo of the user, then it is essential to include this step as the photo (probe image) provided by the liveness check is not suitable for use as an ID photo.
When requesting an ID Photo, the ID Photo Purpose is also required and this is displayed on the page to the user. Note that in this example the ID Photo Purpose is set to "SampleCo Club ID Card", and this is what is displayed on the page.
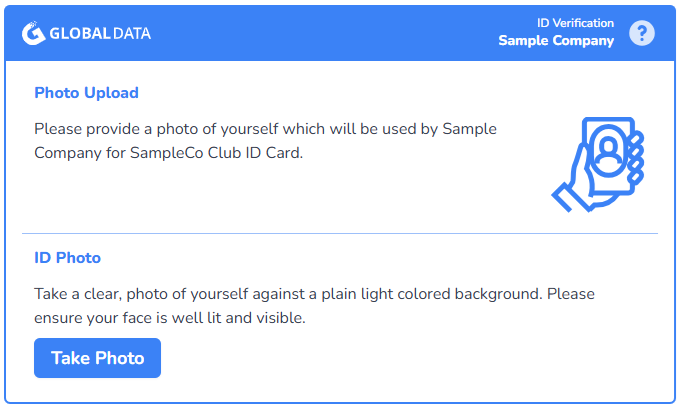
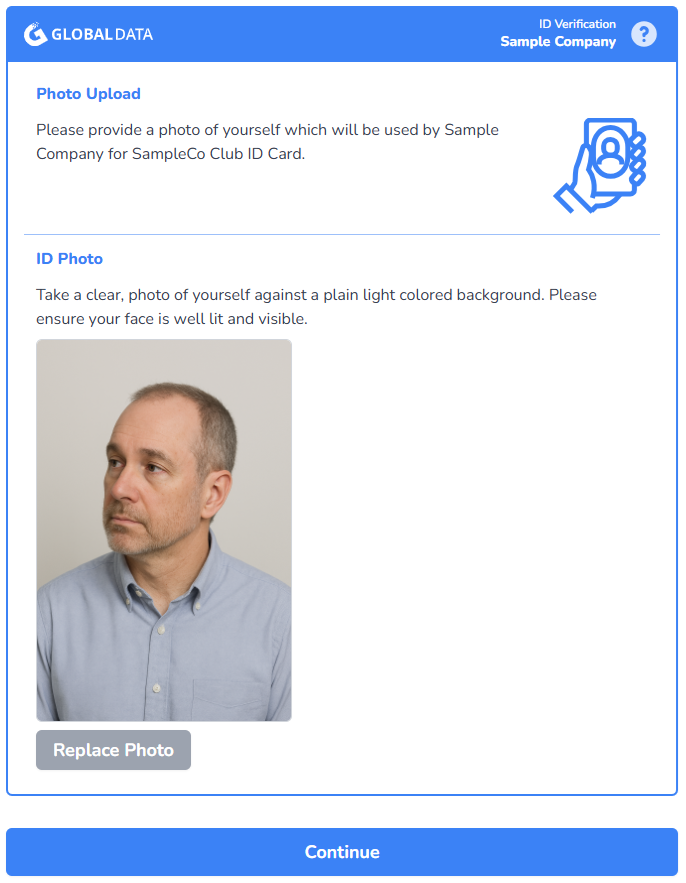
The user can then take a photo or upload an image from their drive or photo library.
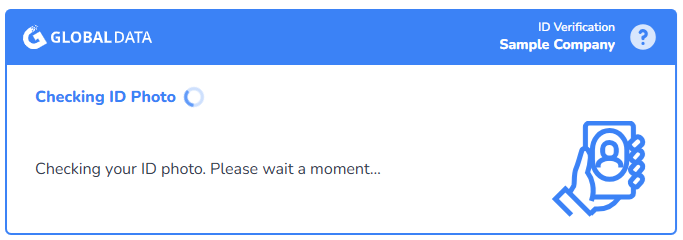
ID Photo Checking
The photo is then checked to ensure it is a clear and focused photo of the user. The checking process takes a few seconds.
The system checks for a number of different criteria to ensure the photo is valid.
| Check | Message |
|---|---|
| Invalid image file | We could not process your ID photo. Please try again. |
| No face found | Could not find a face in the image. Please ensure your face is visible. |
| Multiple faces found | Multiple faces found in the image. Please ensure only your face is visible. |
| Face occluded | Please ensure your face is fully visible. |
| Pitch too high | Please tilt your head down slightly - your chin is too high. |
| Pitch too low | Please raise your chin slightly - you are looking too far down. |
| Yaw too high | Please turn your head slightly to the right - you are facing too far left. |
| Yaw too low | Please turn your head slightly to the left - you are facing too far right. |
| Roll too high | Please straighten your head - it is tilted too far to the left. |
| Roll too low | Please straighten your head - it is tilted too far to the right. |
| Brightness too low | Please ensure the image is well lit. |
| Sharpness too low | The image is too blurry. |
| Eyes closed | Please ensure your eyes are open. |
| Sunglasses | Please remove your sunglasses. |
| Biometric Check Failed | This does not appear to be a photo of you |
The final check is a biometric check to ensure the photo is of the user. This check is only performed if the liveness check was performed during configuration and will compare the photo with the probe image from the liveness check to ensure they are the same person.
ID Photo Error
If an error is detected then the user is presented with an error screen and asked to try again.
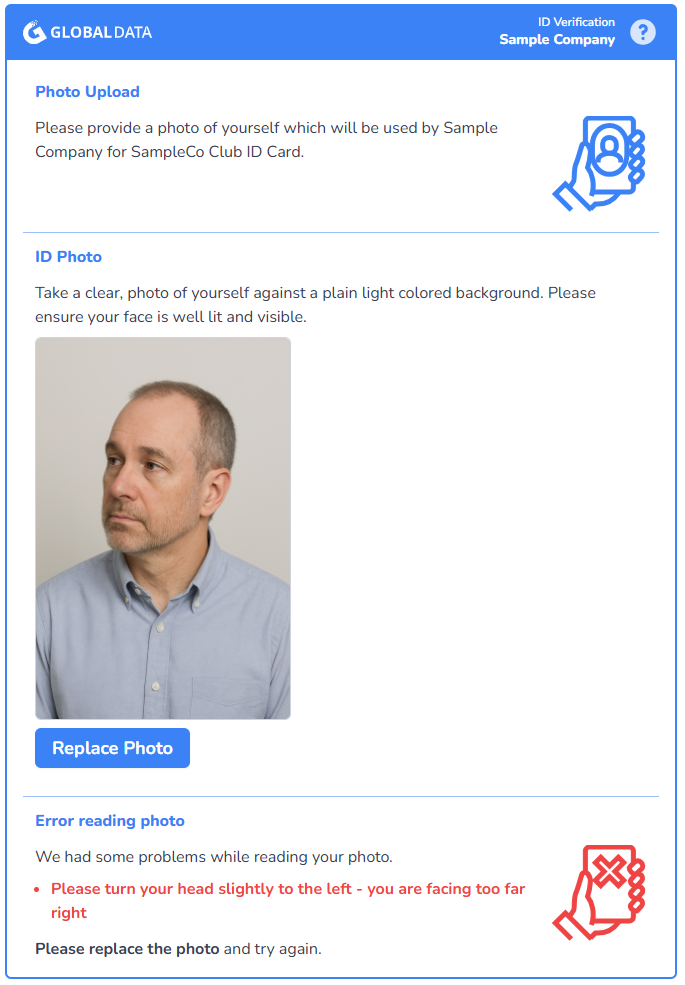
The user can then replace the photo and try again.
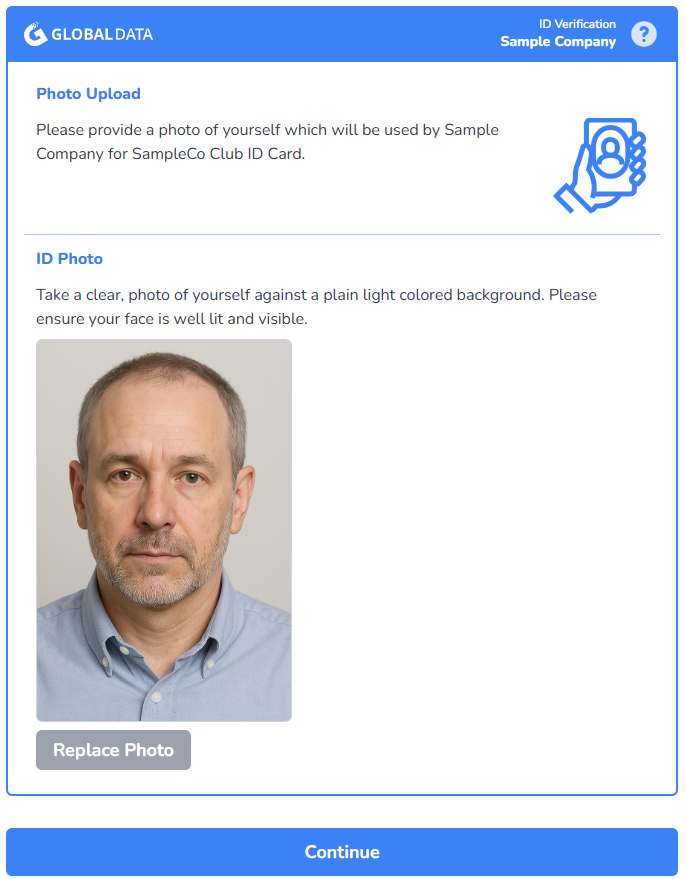
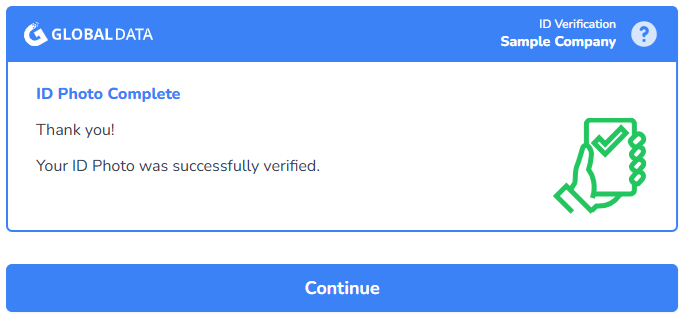
ID Photo Complete
If the photo is clear and focused, then the user is presented with a success screen.
ID Pass Complete
The user has completed all requirements of the ID Pass.
If a return URL was provided during the ID Pass configuration, then the final page will contain a button which will return the user to that URL.
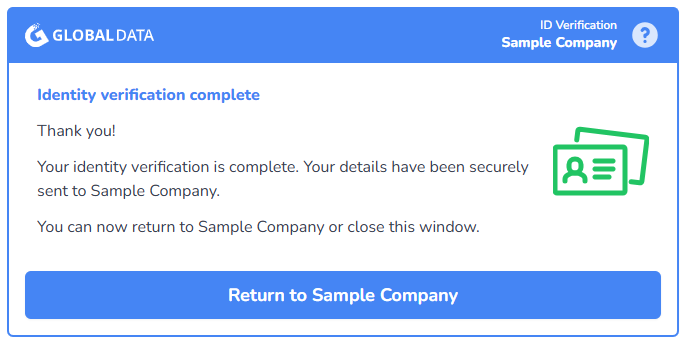
The Completed ID Pass details can now be retrieved and reviewed.
Possible error screens
There are several possible error conditions for an ID Pass.
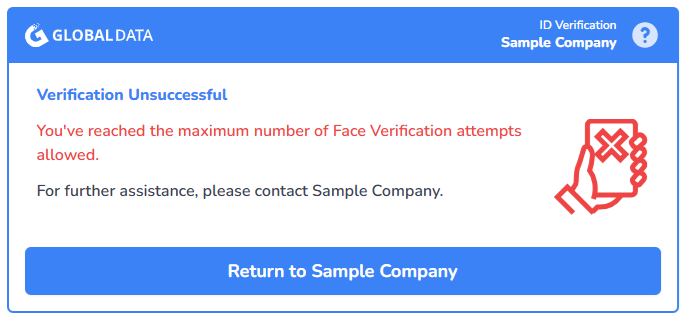
Max Face Verifications Exceeded
For security reasons, the number of face verification attempts is limited. This limit changes dynamically depending on the relative trust of the IP address, mobile device and browser. A minimum of 3 attempts are permitted before the user receives an error screen. Once this error occurs then ID Pass is no longer usable and a new ID Pass will need to be generated to allow the user to try again.
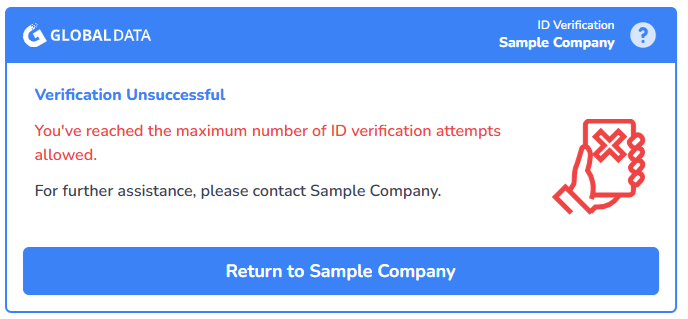
Max DVS Verification Attempts Exceeded
The number of DVS ID verification attempts is limited to 3 per document. If a user is unable to verify their document after 3 attempts, then they receive an error screen. Once this error occurs then the ID Pass is no longer usable, and a new ID Pass will need to be generated to allow the user to try again.
Document Face Occluded
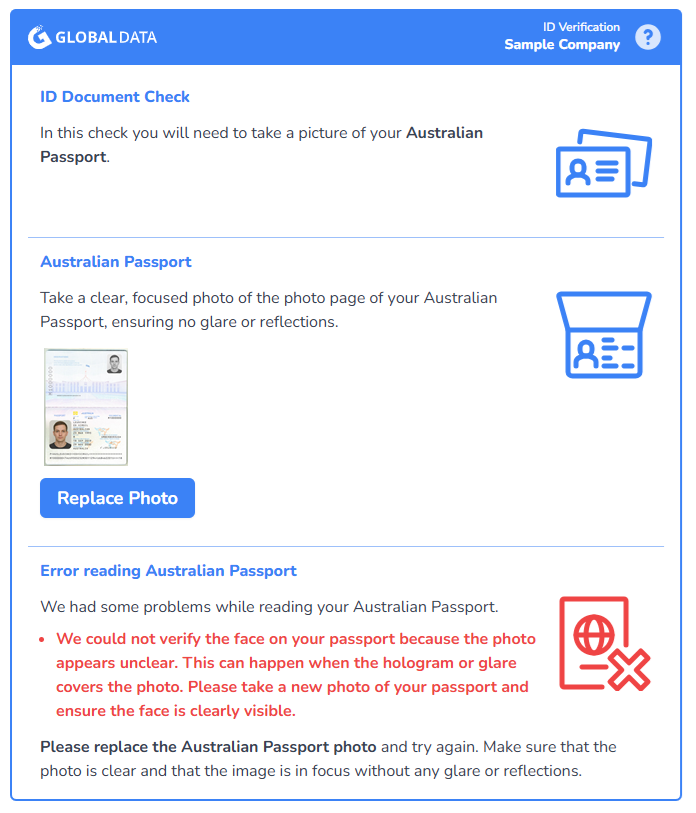
During the document reading step, the system extracts the face image from the uploaded ID document and compares it biometrically against the liveness probe image. If the face on the document cannot be verified because the photo appears unclear, typically caused by a hologram overlay or glare covering the face, the user is shown an error on the document upload screen.
The error message is specific to the document type. For example, for an Australian Passport:
We could not verify the face on your Australian Passport because the photo appears unclear. This can happen when the hologram or glare covers the photo. Please take a new photo of your Australian Passport and ensure the face is clearly visible.
The user is prompted to replace the document photo and try again. This is treated as a document upload error, so the user can retry without consuming a DVS verification attempt.
Verification Failed
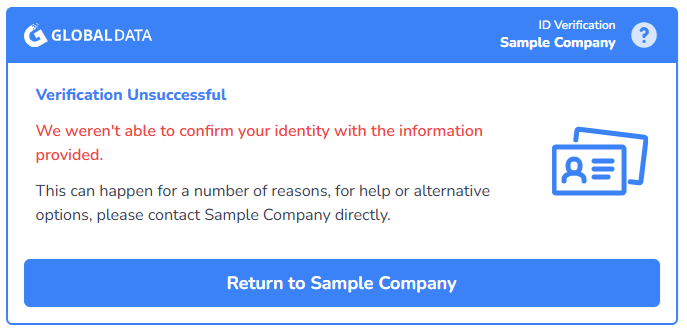
The ID Pass verification has failed. This can be due to a number of reasons, including:
- The user has failed liveness verification
- The document face image did not match the users face (biometric failure)
- The document data did not pass biographic validation
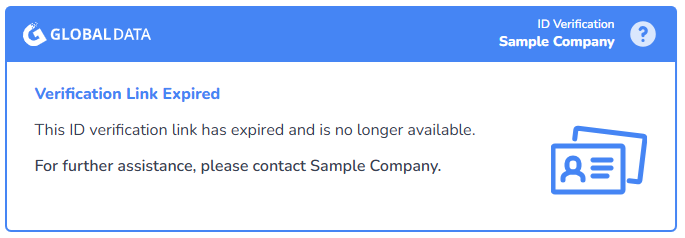
ID Pass Expired
The ID Pass validity period is set to a preset number of days when the ID Pass is configured. If the ID Pass has not been completed in this time, then it is considered to be expired, and the user will receive the expired screen.
Camera Access Error
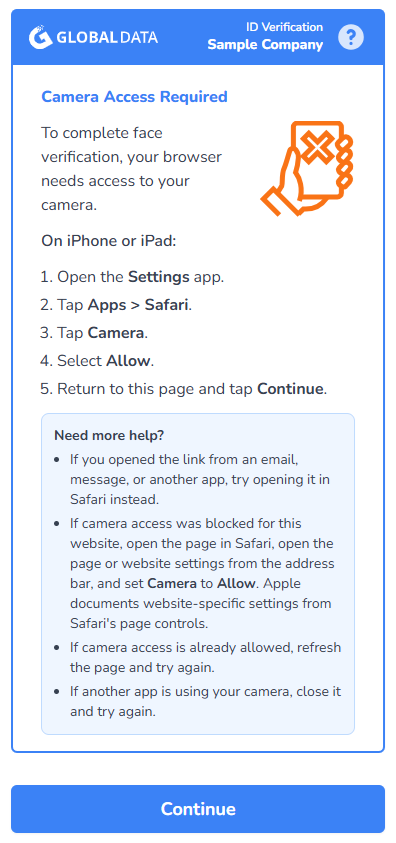
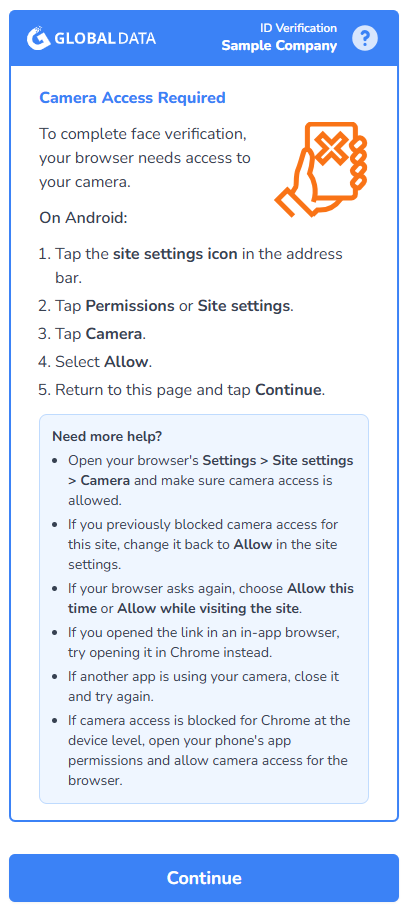
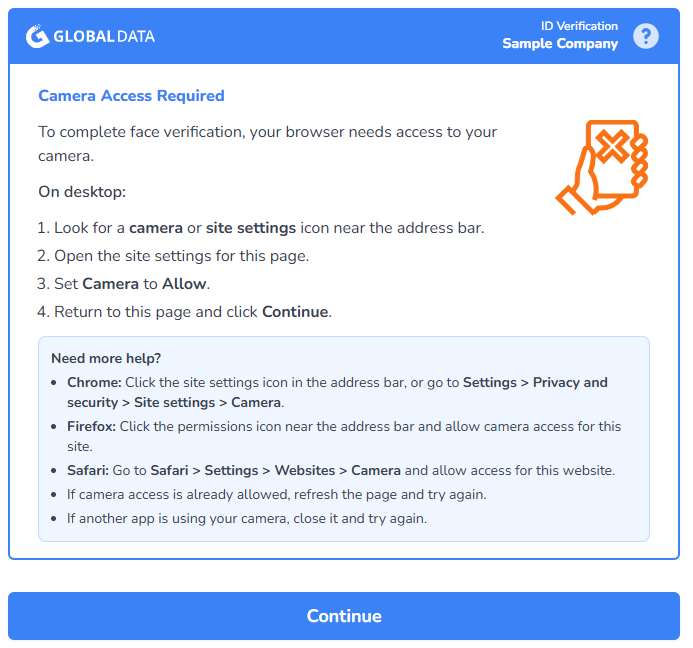
If the user denies camera access or the camera is unavailable during the face verification step, the system detects the error and displays a device-specific help page with instructions on how to enable camera access. The help page content is tailored to the user's device (iOS, Android, or desktop) and provides step-by-step instructions for their platform.
The user can follow the instructions to enable camera access, then tap Continue to return to the face verification step and try again.
iPhone / iPad:
Android:
Desktop:
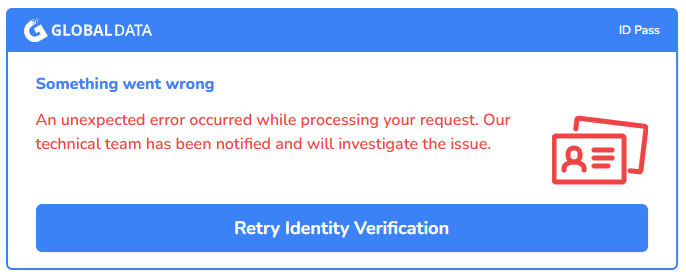
General Error
An unexpected error occurred while processing the ID Pass.
Any such error will log an automatic notification to the technical team and the user will be presented with a general error screen.
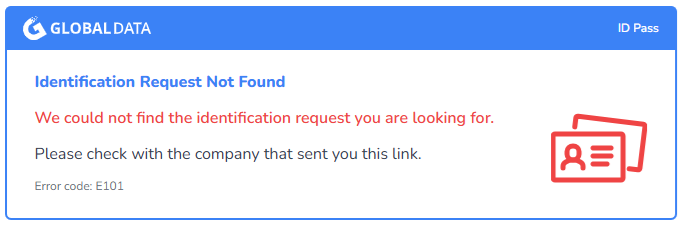
ID Pass Not Found
The ID Pass was not found. This can happen if the ID Pass has been deleted or the link has been copied incorrectly.